
There’s nothing quite like the freedom of being off-grid, but a punctured tyre can quickly turn your adventure into a hassle. In this guide, you’ll discover how to efficiently fix a puncture using minimal tools, ensuring you stay safe and can get back on the road with confidence. With the right approach, you can avoid the stress and enjoy the great outdoors even more. Let’s examine the steps you need to take to remedy the situation swiftly.
Essential Tools for Off-Grid Repairs
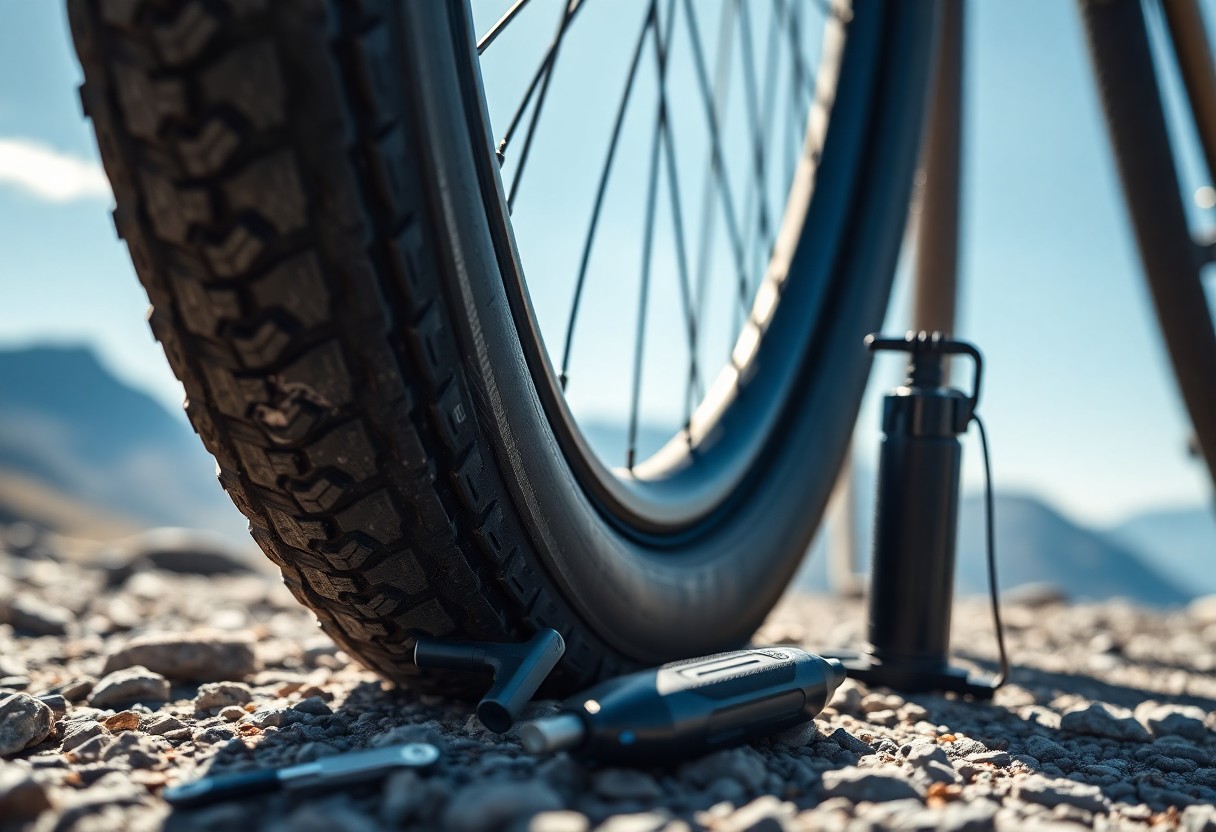
Access to the right tools can make all the difference in executing swift repairs while off-grid. A basic toolkit should include a reliable tyre lever, a portable air pump, puncture repair kits, and a multi-tool. These items can drastically reduce the time it takes to get you back on the road, letting you seize the day rather than being stranded with a flat. Investing in quality tools ensures they withstand rugged conditions and perform flawlessly when you need them most.
Must-Have Equipment for Quick Fixes
Equipping yourself with reliable, portable tools can transform a tedious puncture repair into a swift and efficient process. A small, lightweight hand pump can inflate your tyre with ease, while puncture repair kits featuring patches and adhesive will allow you to seal leaks effectively. Additionally, sturdy tyre levers are imperative for removing the tyre without damaging your equipment, ensuring smooth operations even in remote locations.
Alternatives to Conventional Repair Tools
If you’re caught without your usual toolkit, everyday items can often serve as effective replacements. For instance, a sturdy shoe or rock can substitute for a tyre lever, while duct tape can be a temporary solution for sealing minor punctures. Even using a bike pump can assist in re-inflating smaller tyres quickly. These improvisations highlight the importance of creativity and resourcefulness in off-grid scenarios.
In case you find yourself without standard repair gear, household items can become invaluable. For example, a plastic bottle can provide a makeshift container for sealing punctures with adhesive, while rubber bands can secure loose tyre components. DIY solutions often require a bit of ingenuity, so don’t hesitate to combine available materials in innovative ways. The essence of off-grid living lies in your ability to adapt to circumstances, turning what you have at hand into dependable repair solutions.
Identify the Type of Puncture
Understanding the type of puncture is pivotal for a swift repair. Flat tyres typically fall into two categories: pinch flats and puncture holes. Each type requires a different approach for effective repairs, which can save you time and effort while you’re off-grid. By quickly diagnosing the issue, you can take the right steps to get back on your journey.
Pinch Flats vs. Puncture Holes
Pinch flats occur when your tyre hits a sharp object or a pothole too forcefully, causing the rim to pinch the inner tube. This results in a tear or blip in the tyre. In contrast, puncture holes are typically caused by sharp objects like nails or glass piercing the surface of the tyre. Recognising these differences will inform your repair strategy.
Diagnosing Damage on the Fly
When you’re on the move, assessing the damage quickly is vital. Start by visually inspecting the tyre for any visible objects embedded in the rubber, which may indicate a puncture hole. For pinch flats, check the sidewalls and the bead area of the tyre. A simple squeeze of the tyre can help you detect whether it has lost air. Identifying the problem promptly sets the stage for an effective repair.
During your inspection, take note of any unusual sounds or handling issues while riding. If your bike starts to feel wobbly or the tyre appears to bulge, you may be dealing with a pinch flat. Look for any bulges or cuts on the tyre’s sidewall, as these can also signal deeper issues that may not be repairable in the field. Keep a sharp eye out for foreign objects lodged in the tread, as these will point directly to a puncture hole. A thorough assessment ensures you take the right approach to fix your puncture efficiently.
Expert Techniques for Temporary Fixes
Mastering temporary fixes can save the day when you’re off-grid and need to address a puncture. These expert techniques can help you stay mobile until you can implement a more permanent solution. While various strategies exist, your choice will depend on available resources and the severity of the puncture. By knowing the right methods, you can make the most of your situation and get back on the road quickly.
Quick Seal Methods Using Natural Resources
Utilising natural resources can provide an effective, albeit temporary, solution for a puncture. Things like tree sap or resin can be gathered from coniferous trees, creating a sticky seal when applied over the hole. Alternatively, mud mixed with grass can form an effective barrier, especially in wet conditions. Make sure to pack it densely into the puncture to minimise air leaks and maintain pressure.
Utilising Duct Tape and Other Quick Adhesives
Duct tape stands as a hero in emergency repairs, boasting strong adhesive properties that can cover punctures effectively. In a pinch, you can tear off a length of duct tape, clean the punctured area, and apply the tape firmly over the hole. This method can hold air pressure for several days, allowing you to safely navigate back to civilisation. Other quick adhesives, like super glue, can also be used in conjunction with duct tape for an added layer of protection.
For the duct tape method, first ensure the surface is clean and dry. Apply at least three layers of tape, extending slightly beyond the puncture’s edges to secure the seal. The beauty of duct tape lies in its versatility; it can withstand various weather conditions and is typically resistant to moisture, making it a reliable choice for off-grid adventures. Avoid using it on critical high-pressure areas for an extended time, but it’s perfect for urgent, temporary fixes.
Long-Term Solutions When Resources Are Scarce
Addressing punctures effectively requires considering long-term solutions, especially in off-grid scenarios where resources are limited. Stocking up on important repair supplies can significantly enhance your preparedness for future punctures, ensuring you won’t be caught off guard. Prioritise finding versatile, durable materials that can withstand various conditions, empowering you to extend the lifespan of your gear while you remain self-sufficient.
Patch Kits: What to Look For
Choosing the right patch kit makes all the difference. Look for kits that include a variety of patch sizes, strong adhesive, and easy-to-follow instructions. A good patch kit should be compact and lightweight, making it perfect for your off-grid adventures, yet sturdy enough to handle multiple repairs.
DIY Repair Solutions with Found Materials
Utilising local materials can provide innovative DIY solutions for puncture repairs. Things like duct tape, small pieces of rubber, or even remnants from containers can serve as effective patches, allowing you to improvise and adapt your repairs on the fly.
Getting creative with found materials not only saves resources but also enhances your problem-solving skills in the field. For instance, if you encounter a punctured inner tube, cutting it into smaller strips and applying them over the holes using duct tape can create a makeshift patch. Alternatively, a plastic bottle can be transformed into a temporary valve stem if original parts are missing. Always assess the materials around you; nature often provides everything you need if you’re resourceful and willing to think outside the box.
Safety First: Preventing Further Damage
Before submerging into repairs, assess the situation to prevent additional harm to you or your gear. Ensure you’re on stable ground, free from potential hazards such as traffic, steep drops, or rocky terrain that could worsen your predicament. When addressing a puncture, keep your surroundings in mind; this vigilance helps safeguard both your safety and the integrity of your equipment.
Assessing Surroundings for Hazards
Survey your environment for any dangers that could impact your repair efforts. Look out for loose gravel, overhanging branches, or even wildlife that may pose a threat. Ensuring a clear workspace allows you to focus on the task at hand without unnecessary distractions or accidents.
Best Practices for Off-Grid Maintenance
Regular upkeep of your equipment helps prevent unexpected issues like punctures. Develop a routine for inspecting your tyres, checking for worn treads and any signs of damage. Keeping a repair kit handy and knowing how to use it efficiently can save you time and hassle when you’re off-grid. Additionally, maintaining appropriate air pressure in your tyres enhances their lifespan and performance, ultimately leading to fewer punctures.
Implementing best practices for off-grid maintenance involves a combination of vigilance and proactive measures. Carry out regular inspections on your vehicle or bicycle, checking for sharp objects lodged in the tyres and any changes in air pressure. Don’t neglect cleaning components prone to wear and tear, especially if you’re traversing rugged terrains. Organising your maintenance kit with imperative tools like a multi-tool, patch kit, and a portable pump enables you to tackle immediate issues efficiently, thus enhancing your chances of a swift turnaround when faced with unexpected punctures. By making these checks part of your routine, you not only extend the life of your equipment but also enjoy a more seamless off-grid experience.
Conclusion
Summing up, knowing how to fix a puncture quickly when you’re off-grid is necessary for maintaining your freedom and mobility in remote areas. Equip yourself with a reliable repair kit and understand the steps to patch or replace your tyre effectively. By being prepared and having the right tools at hand, you can ensure that a puncture doesn’t disrupt your adventure, allowing you to enjoy the great outdoors with confidence and peace of mind.